Laser Treatments
Laser Hair Removal
-
All Areas
-
Bundles
-
Back
-
Bikini Area
-
Brazilian
-
Chest
-
Chin/Lips
-
Face
-
Legs
-
Underarms
-
For Men
Laser Tattoo Removal
-
Full Tattoo Removal
-
Fading for Cover Ups
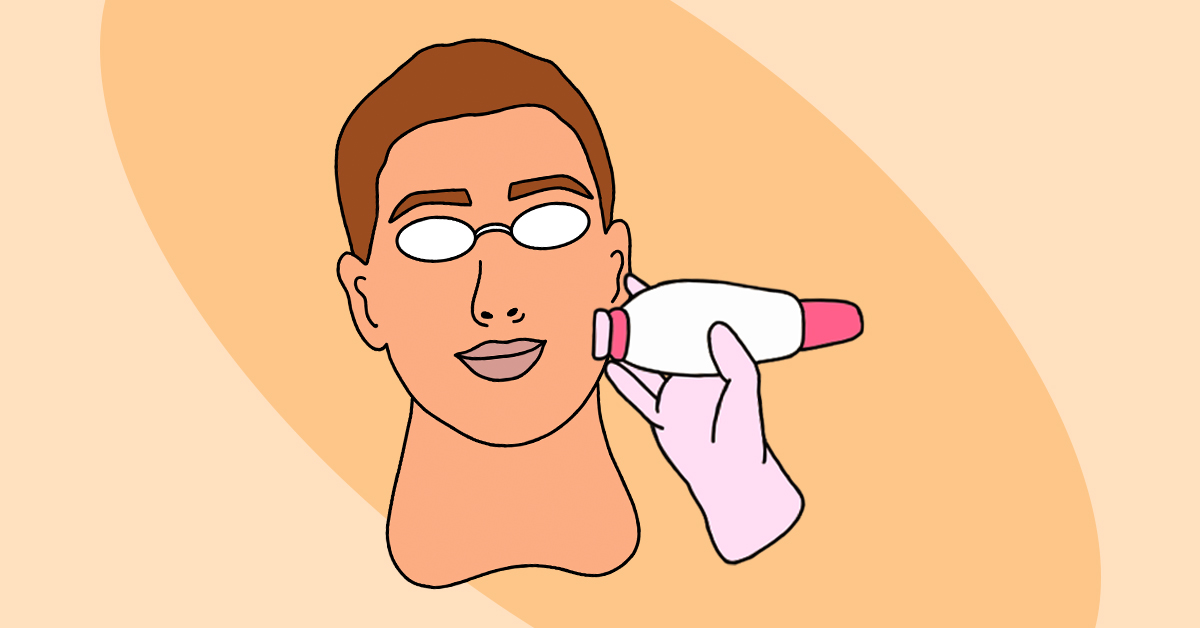
Laser Facial Treatments
-
Clear + Brilliant®
-
Instant Glow Laser Facial
Learn
-
Before & After
-
The LaserSafe Solution
-
Pre & Post-Treatment Care
-
Pricing
-
FAQs
Injectables
Botox & Xeomin Areas
Explore by Concern
Filler
Learn
Skin Rejuvenation
Explore By Concern
Addons
Learn
Body
Explore By Concern
Learn
Wellness
- Wellness Injections
-
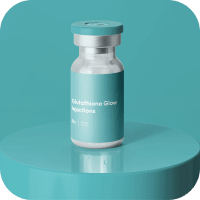
Glutathione Glow Glow that shows. Support that starts within.
-
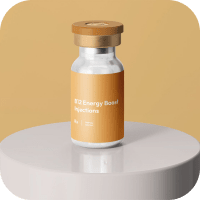
B12 Energy Boost Natural vitality to complement your routine.
-
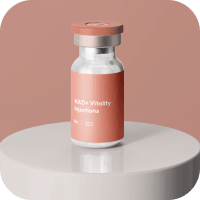
NAD+ Vitality Inside-out support for long-term radiance.
-
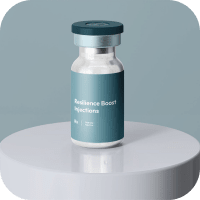
Resilience Boost Three ingredients. One glow-supporting boost.
Savings
About Us
-

-

Promotions
OUR FAVORITE WAYS TO SAVE
-

Treatment Packages & Bundles
CURATED COMBOS FOR MAXIMUM RESULTS